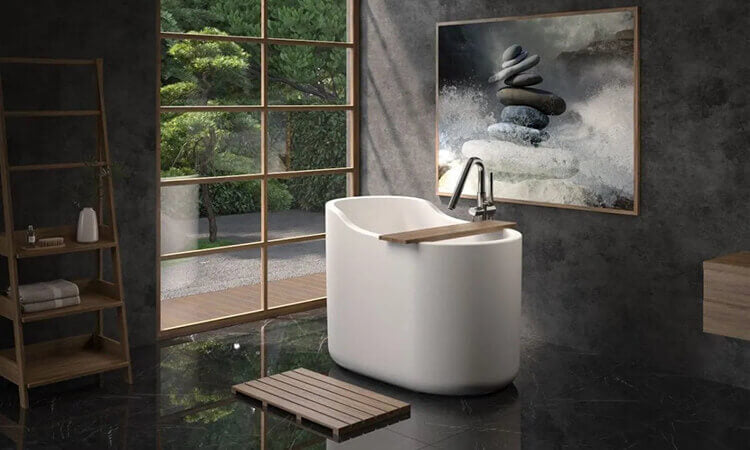
Unveiling the timeless allure of stone resin bathtubs is like discovering an oasis of luxury and comfort within your bathroom. Yet, as time passes, even the most meticulously maintained tubs may succumb to the unsightly blemishes of scratches. While these marks might seem inevitable, particularly in bustling households, fret not—many surface scratches on stone resin bathtubs can be swiftly remedied with a touch of finesse and a dash of patience. In this comprehensive guide, Giving Tree Home shares invaluable insights on how to effectively rectify surface scratches on your cherished stone resin bathtub, drawing from both personal experience and thorough research.
Understanding Stone Resin
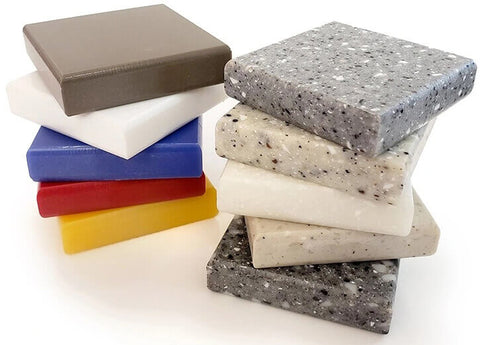
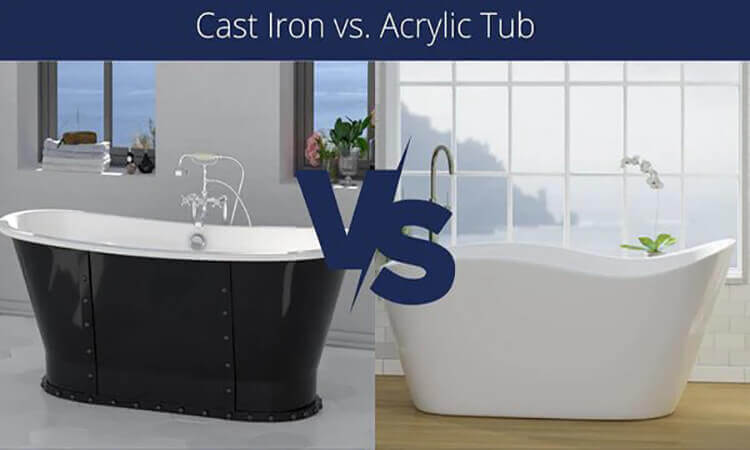
Before delving into repair methods, it's crucial to grasp the essence of stone resin and its distinguishing features compared to other materials. Stone resin is a composite material crafted from crushed stone, resin, and occasionally other additives. Renowned for its robustness, resistance to stains, and minimal upkeep requirements, it has emerged as a favored option for contemporary bathroom fixtures, encompassing a diverse range of furniture such as bathtubs, sinks, and toilets.
One of the standout attributes of stone resin lies in its ease of repair, particularly concerning surface scratches. Unlike natural stone counterparts, which may pose greater challenges for restoration, stone resin offers a straightforward avenue for DIY fixes that can swiftly rejuvenate the bathtub's aesthetics.
Assessing the Damage
The first step in repairing surface scratches on a stone resin bathtub is to assess the extent of the damage. Minor scratches, such as those caused by everyday use or light abrasions, are typically easier to repair than deep gouges or cracks. Here's how to determine the severity of the scratches:
- Light Scratches: These are shallow scratches that may not penetrate the surface completely. They often appear as thin lines and may be visible but not easily felt with your fingernail.
- Moderate Scratches: These scratches are deeper than light scratches and may be visible and slightly felt when running your fingernail over them. They can be more challenging to repair but are still manageable with the right techniques.
- Deep Scratches or Cracks: These are significant imperfections that penetrate the surface of the bathtub. They may be wide, deep, and clearly visible. Repairing deep scratches or cracks may require professional intervention.
Tools and Materials Needed
The entire repair process may involve some tools and materials, but don't worry, most of them can be found at home:
- Soft microfiber cloth
- Mild liquid dish soap
- Warm water
- Fine-grit sandpaper (800-1200 grit)
- Rubbing compound or polishing compound
- Polishing pad or buffing cloth
- Wax or sealant (optional, for added protection)
Step-by-Step Repair Process
Now that you have everything you need, follow these steps to repair surface scratches on your stone resin bathtub:
- Clean the Surface
Start by cleaning the bathtub thoroughly. Mix mild liquid dish soap with warm water and use a soft microfiber cloth to gently clean the entire surface of the bathtub. Rinse with clean water and dry the bathtub completely.
- Sand the Scratches
For light scratches, use fine-grit sandpaper (800-1200 grit) to gently sand the scratched area. Use light pressure and circular motions to sand the surface evenly. Be careful not to sand too aggressively, as this can create more damage.
- Apply Rubbing Compound
After sanding, apply a small amount of rubbing compound or polishing compound to the scratched area. Use a polishing pad or buffing cloth to buff the compound into the surface in circular motions. Continue buffing until the scratches begin to fade and the surface becomes smooth.
- Polish the Surface
Once the scratches are no longer visible, polish the entire bathtub surface using the same polishing pad or buffing cloth. This step helps to blend the repaired area with the rest of the bathtub, restoring its shine and uniform appearance.
- Apply Wax or Sealant (Optional)
For added protection and shine, consider applying a thin layer of wax or sealant to the entire bathtub surface. Follow the manufacturer's instructions for the specific product you choose, and buff the surface gently after application for a smooth finish.
Maintenance Tips
To keep your stone resin bathtub looking its best and minimize future scratches, follow these maintenance tips:
- Use only soft, non-abrasive cleaning tools and mild cleaning products to avoid scratching the surface.
- Avoid using harsh chemicals or abrasive cleaners that can damage the bathtub's finish.
- Clean spills and stains promptly to prevent them from setting into the surface.
- Use a bath mat or towel at the bottom of the tub to protect it from abrasive objects and prevent scratches from everyday use.
Ending
Repairing surface scratches on a stone resin bathtub is a manageable task that can breathe new life into your bathroom centerpiece. By following the steps outlined in this guide and incorporating regular maintenance practices, you can keep your bathtub looking pristine for years to come. Remember, a little care and attention can go a long way in preserving the beauty and functionality of your stone resin bathtub, allowing you to continue enjoying luxurious baths in a space that exudes elegance and comfort.
If your bathtub is beyond repair and in a state of disrepair, it may be advisable to consider purchasing a new stone resin bathtub from Giving Tree Home. We have cultivated extensive experience in this field, ensuring our products boast superior quality and aesthetics compared to other brands.